Survive a Million Monkeys How to Survive Monkey Waves
Beat denser waves with lane control, class roles, upgrade timing, and co-op discipline.
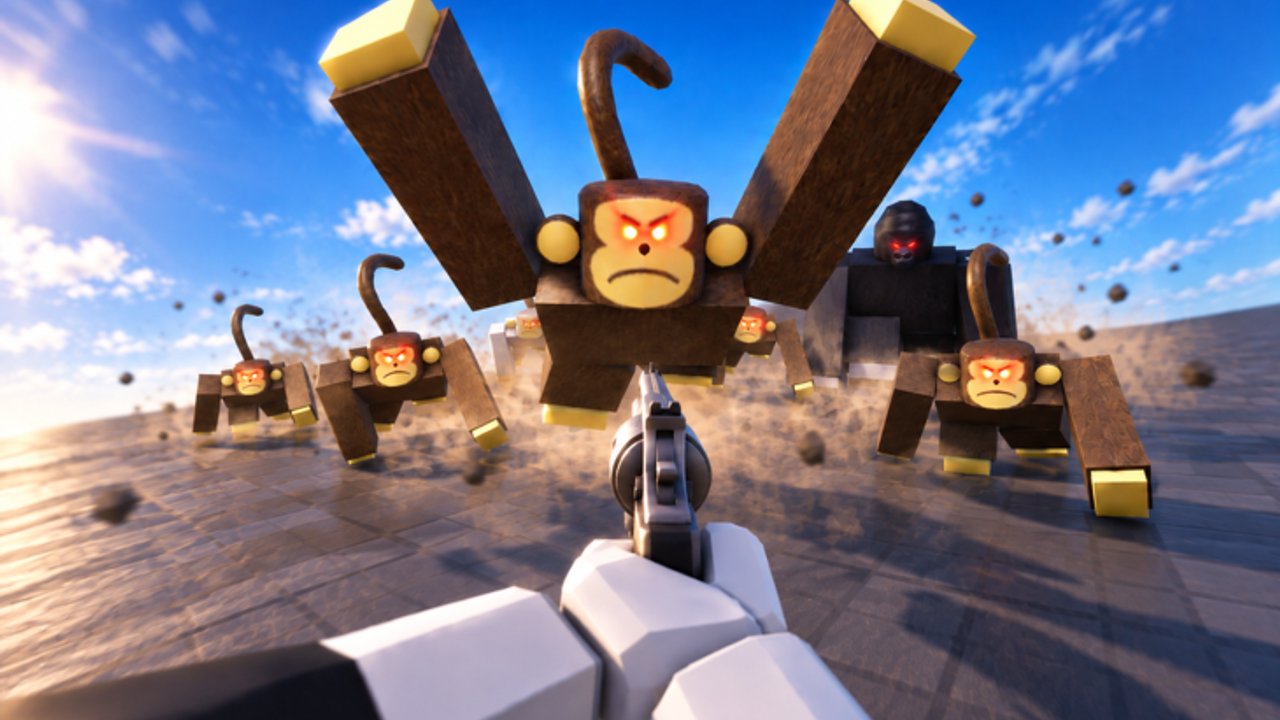
Learning how to survive in Survive a Million Monkeys is the difference between a fun climb and a five-minute wipe. This Roblox horde survival title by gorilla warfare escalates rabid monkey pressure across endless waves while up to 25 players share the map. Guns and classes matter, but positioning and teamwork decide whether your Gem investments get time to shine.
Use this guide after Getting Started. Bring a class plan from the Tier List, keep redeeming codes when new ones appear, and tighten mechanical details with Best weapons and the Players Hub.
The survival thesis
Monkeys win when survivors fragment. Humans win when survivors share a plan:
- Pick a defendable lane or ring.
- Assign Anchor, Clear, and Flex jobs.
- Upgrade on schedule instead of panic-buying mid-swarm.
- Reset together when a flank collapses.
- Convert longer waves into Gems and leaderboard progress.
You are not trying to solo a million monkeys on day one. You are trying to make each wave cleaner than the last.
Positioning fundamentals
Hold funnels, not ego angles
Stand where monkeys are forced into narrower paths. Doorways, bridge mouths, and corner pinches let Bomber delete packs and let Juggernaut hold without infinite surround. Wide courtyard peeks look cinematic and die quickly.
Keep an escape tile
Always know the two steps behind you. When a flank spawns, survivors without an escape tile eat free hits. Strafe along prepared routes instead of backpedaling into unknown fog.
Camera on the next spawn, not only the current clump
The densest pile is rarely the only threat. Side spawns create the surrounds that end runs. Sweep your camera between volleys, especially in public lobbies where nobody calls.
Do not overchase stragglers
Cleaning one monkey twenty meters off-lane often pulls three more from fog. Clear what threatens the hold first; mop leftovers only when the lane is stable.
Class roles during waves
Juggernaut — Anchor
Take the loudest lane. Announce when you must fall back. Your job is time: time for reloads, time for revives, time for Bomber cooldowns. If you chase kills into the open, the Anchor role disappears and the lobby collapses inward.
Bomber — Clear
Save big damage for actual clumps. Waste on single targets is how Clear players go quiet right when the wave crest hits. Coordinate bait: teammates drag monkeys into your blast lane, then you reset pressure.
Engineer — Structure and sustain
Play where your utility touches the most teammates. Engineer value is quiet until the ten-minute mark, then suddenly everyone notices the squad is still alive. Premade groups should protect their Engineer the way they protect the Anchor.
Deep unlock priority still follows the Tier List Hub. Survival technique multiplies whatever class you already own.
Upgrade timing that prevents wipes
Upgrades are part of wave craft:
- Buy health when you are dying to chip damage before the true swarm crest.
- Buy weapon power when kills are too slow and packs reach melee range every time.
- Avoid spending during the loudest ten seconds of a wave unless the purchase is instant and life-saving.
- After a wipe, upgrade before re-entering if the previous run exposed a clear gear gap.
Auto-thinking “I will upgrade later” is how accounts stall. Pair this section with How to get Gems so income matches your upgrade appetite.
Co-op habits that beat denser waves
- Stack in twos at minimum; isolated heroes feed the horde.
- Revive only when two survivors can cover the downed player’s angle.
- Call when you reload so Anchors do not assume fake pressure coverage.
- Rotate one player to the weak flank instead of all five staring at the same doorway.
- After a near-wipe, reset to a simpler funnel even if it feels like “losing map.”
Public lobbies will ignore some of these rules. That is why Juggernaut remains such a strong solo-public pick — you must create stability the chat will not create for you. Premades recruited from the official Discord can run stricter plans.
Wave phases and how to read them
While exact spawn math can shift with updates, most sessions feel like this:
- Opening trickle — Learn the map edges, set your funnel, fix sensitivity.
- First crest — Packs thicken; this is where bad peeks die.
- Mid-run economy — Upgrades decide whether crest three is playable.
- Chaos stretch — Flanks plus front pressure; roles must be clean.
- Endurance wall — Only disciplined teams with upgraded guns stay composed.
If you repeatedly die on the first crest, your problem is positioning or class choice. If you die on the endurance wall, your problem is upgrades, weapon tier, or stamina of coordination. Choose the next wiki page accordingly.
Weapon support for survival
A stronger pistol or rifle does not replace lane craft, but it shortens exposure time. Heading toward weapons like the Epic Deagle matters because faster deletes mean fewer surround starts. Still, buy the gun path that matches your class role — see Best weapons — instead of copying a damage screenshot from a different composition.
Mental checklist during a bad wave
When everything is loud, shrink decisions:
- Am I on a funnel or in the open?
- Who is my nearest revive partner?
- Is this a Clear moment or an Anchor hold moment?
- Do I need to fall back one tile right now?
- Is an upgrade available that fixes the actual failure point?
Survivors who answer those five questions calmly outlast survivors who spray in panic.
Practice routine between big climbs
- Run one short session focused only on funnel discipline.
- Run one session focused on revive timing.
- Run one session where Bomber practices delayed blasts on baited packs.
- Review whether your Gem spend matched the failure point.
- Skim Updates so you are not practicing around outdated enemy behavior.
Common wipe causes
- Three players holding three disconnected angles
- No Anchor in a public lobby full of glass cannons
- Bomber cooldowns wasted on thin lines
- Zero health upgrades into mid waves
- Chasing leaderboard ego instead of resetting the hold
Fix the cause, then push again. Survive a Million Monkeys rewards learning speed as much as raw aim.
Fair play reminder
Automation tools that auto-farm or skip waves can ban accounts. If you want longevity on the survivor board, master this guide instead of risky shortcuts summarized on the educational Scripts Hub.
Survive longer, spend smarter, and the million-monkey fantasy becomes a climb you can actually schedule with friends.
Frequently Asked Questions
Quick answers for codes, classes, gems, and wave survival.
How do I survive longer waves in Survive a Million Monkeys?
Hold funnels, assign Anchor and Clear roles, upgrade health and weapons on time, and fall back together instead of ego peeking.
What class helps most with survival?
Juggernaut is the best survival-first unlock for messy lobbies. Bomber helps once you can bait clumps into blast lanes.
Should I upgrade health or weapons first?
Upgrade health if chip damage downs you early; upgrade weapons if packs always reach melee before you finish them. Fix the failure you just had.
Why do public lobbies wipe so fast?
Players split angles, skip roles, and chase kills. Create a funnel, play Anchor if needed, and rotate to weak flanks early.
Does co-op really matter that much?
Yes. Revive chains and shared lanes multiply every class and gun. Solo heroes feed surrounds that coordinated duos simply prevent.